REVIEW · SINGAPORE
Singapore Night Photography Workshop
Book on Viator →Operated by Singapore Photography Workshops · Bookable on Viator
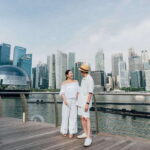
Night photos get easier with the right plan. This Singapore River workshop is built for that exact moment when twilight turns into real night, so you’re not just sightseeing—you’re learning how to make the shot. I like the focus on hands-on coaching and getting practical settings right while the skyline is changing in front of you.
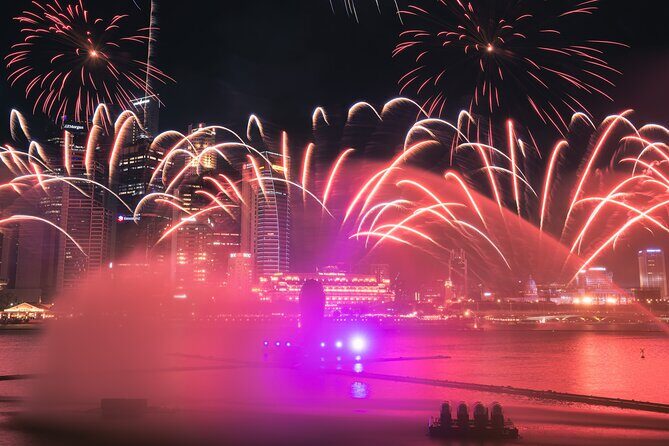
Two more things I’m drawn to: you’ll photograph a mix of modern and historical architecture along the waterfront, and you’ll practice specific low-light effects like light trails, light bursts, and silky waters. That combination matters, because night photography isn’t one skill—it’s several small choices stacked together.
One possible drawback to plan for: this experience depends on good weather, and the photography equipment isn’t included. If you show up without the gear you need (and without understanding your camera), you may spend the 2 hours troubleshooting instead of shooting.
In This Review
- Key Things That Make This Workshop Work
- Why the Singapore River at Dusk Helps You Learn Faster
- Small-Group Coaching (Max Three) and What You Actually Get Out of It
- Camera Settings You’ll Practice: From Low Light to Real Effects
- Stop 1: Singapore Riverfront Shooting Along Modern and Historical Sights
- Photo Review: How Feedback Makes Your Next Shots Better
- Price and Value: Is $145.26 Worth It?
- Gear Reality Check: What’s Not Included (and What to Have Ready)
- Weather Matters for Night Photos (So Plan for Flexibility)
- Who This Workshop Suits Best
- Should You Book This Singapore Night Photography Workshop?
- FAQ
- How long is the Singapore Night Photography Workshop?
- Where does the workshop start and end?
- What time does the workshop begin?
- How big is the group?
- Is photography equipment included?
- Is this a private tour or shared group?
- What happens if the weather is poor?
Key Things That Make This Workshop Work
- Max 3 people: you get more time with the pro during the stops and while adjusting settings
- Twilight-to-night practice: you’ll work through changing light, not just one fixed scene
- Specific effects taught: light trails, light bursts, and silky waters are clear targets
- Riverfront photo routes: modern skyline and older architecture in the same session
- Photo review included: you leave with feedback, not just a memory card full of images
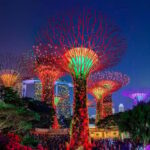
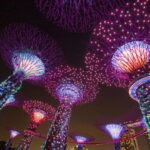
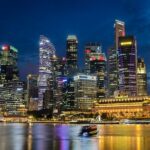
Why the Singapore River at Dusk Helps You Learn Faster
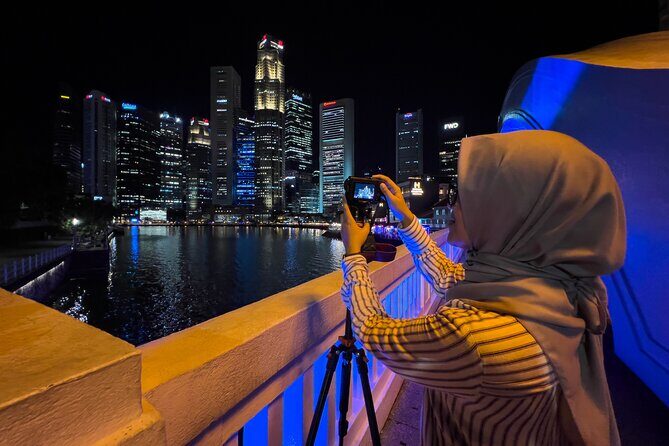
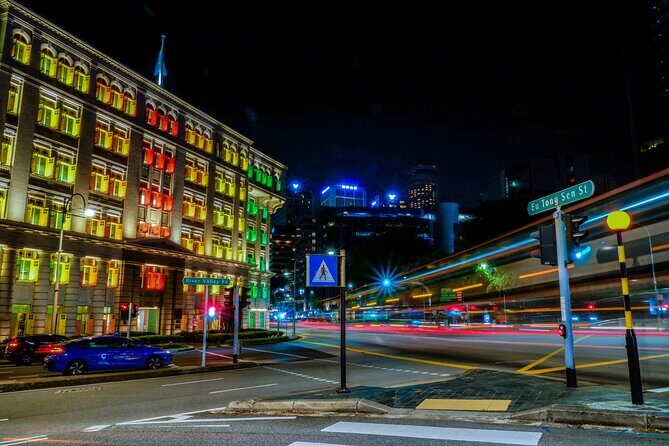
Night photography usually fails for one simple reason: the light changes faster than your instincts. This workshop solves that by timing the session around the transition from twilight into night, so you can practice as the city darkens and the camera settings need to shift.
The river area also gives you natural “training wheels” for composition. You’ve got reflections on the water, bright points from signage and skyline details, and long visual lines along the waterfront. Even if you’re not a technical person, you can still see what’s happening in your frame: highlights blow out, shadows deepen, and reflections either stay crisp or turn silky depending on how you expose.
You’re also set up for one of the best learning advantages here: you can compare shots you take only minutes apart, under similar locations but changing conditions. That makes it easier to understand which setting choices create which results.
You can also read our reviews of more evening experiences in Singapore
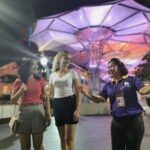
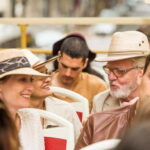
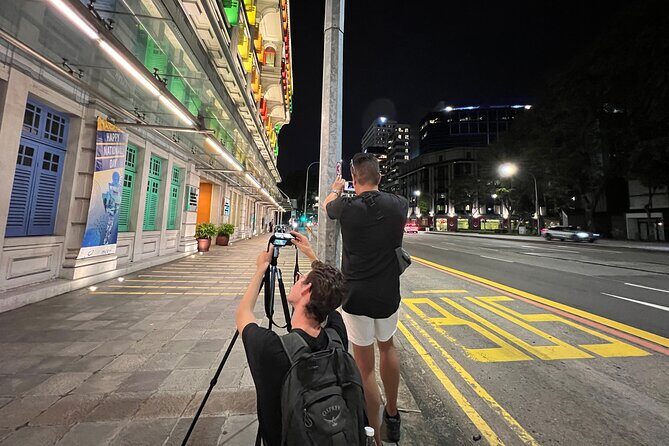
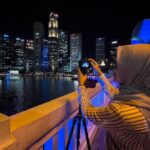
Small-Group Coaching (Max Three) and What You Actually Get Out of It
This is limited to a maximum of three people at a time, which is rare in a city workshop setting. The value isn’t about exclusivity; it’s about attention. When the group is tiny, you’re more likely to get quick fixes when something is off—focus, exposure, stability, or framing.
In practice, this format helps because night shots are unforgiving. A half-second mistake can ruin a light-trail photo, and it’s hard to self-diagnose if you’re moving too fast. A small group makes it easier for the instructor to notice patterns, then give you clear instructions you can apply right away.
It’s also listed as a private tour/activity for your group, which generally means fewer distractions and more direct coaching time. If you like to ask questions while you’re standing in front of the subject, this setup fits that style well.
Camera Settings You’ll Practice: From Low Light to Real Effects
The workshop centers on working through camera settings to create different night effects. That’s what turns night photography from guesswork into a repeatable process.
Here’s what you should expect to work toward:
- Low-light exposure control as the scene darkens
- Light trails (those stretched lines of moving lights)
- Light bursts (points of light rendered with a burst/star effect, depending on lens and settings)
- Silky waters (smoother water by controlling shutter speed and exposure)
Even if you’re brand new, the key is that you’re not learning in a classroom vacuum. You’re changing settings while looking at an actual scene: the riverfront, skyline elements, and people/city moments within the same general area.
Practical tip for you: if your camera settings feel intimidating, focus on one variable at a time. For night shots, that’s often shutter speed and how it interacts with exposure. You’ll get the most value if you can make small adjustments, then immediately see the results in what the instructor is showing you.
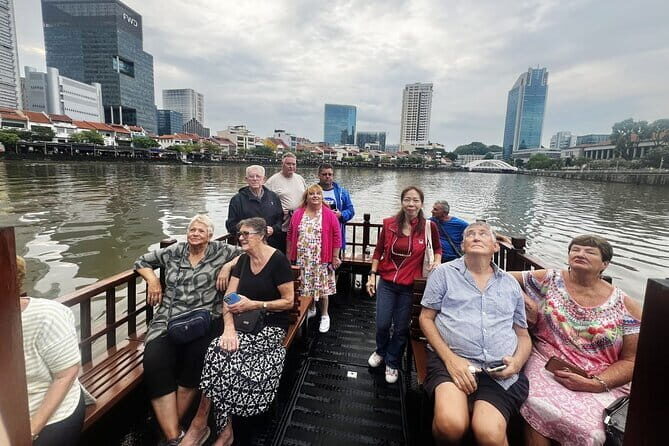
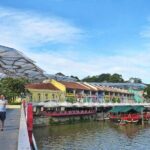
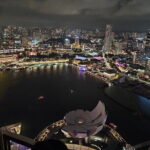
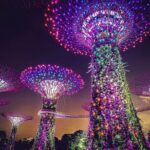
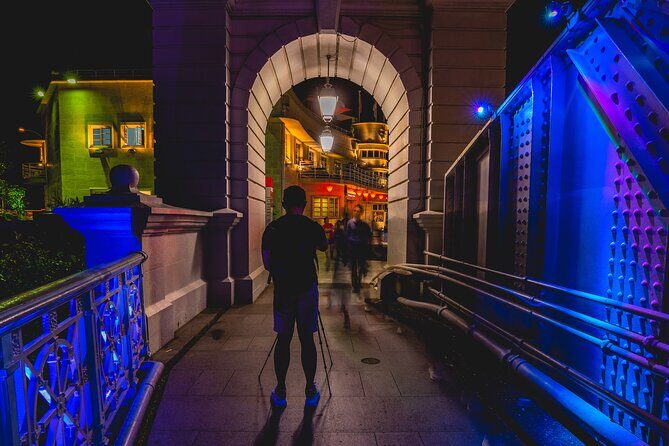
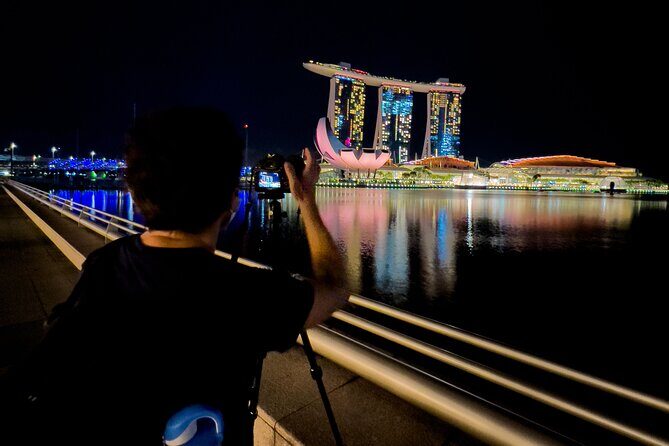
Stop 1: Singapore Riverfront Shooting Along Modern and Historical Sights
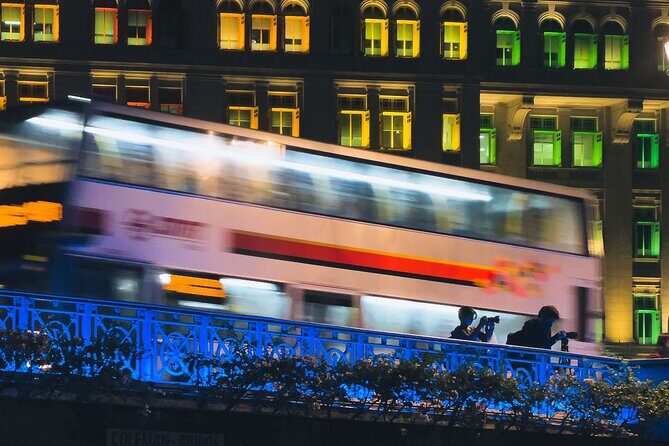
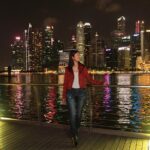
Your main stop is the Singapore River / Riverside. This is where the session earns its keep, because it’s not one view—it’s a river stretch that lets you shoot multiple types of subjects.
You’ll photograph:
- Iconic sites along the riverfront
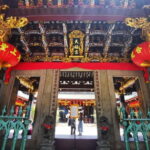
- A mix of modern and historical architecture
- People and cityscapes as night arrives
What I like about the way this is designed is that it forces you to practice different “looks.” Architecture shots often emphasize straight lines and clean framing. Cityscapes and river shots add reflections and brightness balance. People shots bring movement, timing, and focus challenges.
You’ll also be guided to unique angles to enhance composition skills. That matters, because many beginners frame the obvious view and then wonder why the photo looks flat. With angles, you can add depth, layer foreground water reflections, and bring more of the river into the story of the image.
Timing note: since the workshop runs about 2 hours starting at 6:30 pm, you’ll likely capture the city while lights are building and reflections are becoming more pronounced. That’s an advantage for learning, because you can practice settings through a natural light gradient.
One consideration: if you’re hoping for a long, uninterrupted wander far beyond the river area, this isn’t that kind of tour. It’s a focused photo session with a clear theme: night photography on the river.
Photo Review: How Feedback Makes Your Next Shots Better
You’re not just shooting and walking away. The package includes a photo review, which is one of the most underrated parts of photography workshops.
Night photography has a frustrating problem: you often can’t tell what went wrong on the spot. The image can look fine in the field, but the final file reveals softness, clipped highlights, or settings that didn’t match the effect you wanted.
A review gives you a chance to connect what you did with what the camera produced. If you plan to keep shooting after this trip, that feedback is what turns your next outing from random experimentation into smarter practice.
For best results, you’ll want to pay attention during the review and ask questions about the specific look you’re trying to get—light trails vs. silky water vs. light bursts. These effects don’t respond the same way to small changes, so being explicit helps.
You can also read our reviews of more photography tours in Singapore

Price and Value: Is $145.26 Worth It?
At $145.26 per person for about 2 hours, this isn’t a budget “just walk around” activity. But the value comes from three things that cost money to deliver well: a professional travel photographer instructor, hands-on photography tutorial, and a photo review with real coaching.
It’s also limited to a small group, which usually means better instruction quality per person. In a standard large group tour, you might get one tip and then fend for yourself. Here, you’re more likely to be corrected or guided while you’re actively shooting.
The other piece is what you’re not paying for: equipment is not included. If you already own a camera and lens, you’re in a much better position. If you don’t, the best way to judge value is to think about whether you’ll be able to take long-exposure style photos and experiment with settings during the workshop.
If you want a night-photo result you can reproduce later, this workshop is priced like an instruction experience, not a casual tour.
Gear Reality Check: What’s Not Included (and What to Have Ready)
The workshop does not include photography equipment: camera, lens, tripod, memory cards, or batteries.
That means you should show up prepared to shoot. At minimum, bring whatever you need to:
- adjust manual or semi-manual settings (depending on your camera)
- handle darker conditions
- keep your camera stable for longer exposures (especially for effects like silky water and light trails)
If you own a tripod, bring it. If you don’t, you might still capture some night effects, but you’ll likely fight stability more often. Since the workshop is designed around long-exposure style results, having the right support gear is the difference between learning and struggling.
Weather Matters for Night Photos (So Plan for Flexibility)
This experience requires good weather. If it gets canceled due to poor weather, you’ll be offered a different date or a full refund.
Because night photography depends on stable conditions, this policy makes sense. For you, the practical move is simple: check conditions before you head out, and don’t plan tightly afterward if you can avoid it. Even a small change like steady rain can affect both safety and camera use.
Who This Workshop Suits Best
I think this workshop is a strong match for:
- you want night photography instruction, not just sightseeing
- you like learning by doing, with an instructor watching your settings
- you’re interested in the riverfront mix of architecture, city lights, and reflections
- you’re okay bringing your own gear and learning through experimentation
It may feel less ideal if you want a relaxed walk with no focus on settings, or if you’re traveling without a camera and basic low-light capability.
Should You Book This Singapore Night Photography Workshop?
If your goal is night photos that look intentional—light trails, light bursts, and silky water—this workshop is worth serious consideration. The small group size, the professional photographer instructor, and the photo review are the big reasons. You’re paying for guidance you can apply immediately, not just a pretty evening stroll.
I’d book it if you already have the basics of camera control and you’re willing to bring your own equipment. I’d think twice if you’re equipment-free or you hate the idea of working with changing night light on foot. In the right situation, it’s a focused, practical way to level up fast.
FAQ
How long is the Singapore Night Photography Workshop?
It runs for about 2 hours.
Where does the workshop start and end?
You start at Clarke Quay Central, 6 Eu Tong Sen St, Singapore 059817 and it ends back at the same meeting point.
What time does the workshop begin?
The start time is 6:30 pm.
How big is the group?
The workshop is limited to a small group of a maximum of three people at a time.
Is photography equipment included?
No. Camera, lens, tripod, memory cards, and batteries are not included.
Is this a private tour or shared group?
It’s listed as a private tour/activity, meaning only your group participates.
What happens if the weather is poor?
The experience requires good weather. If it’s canceled due to poor weather, you’ll be offered a different date or a full refund.